
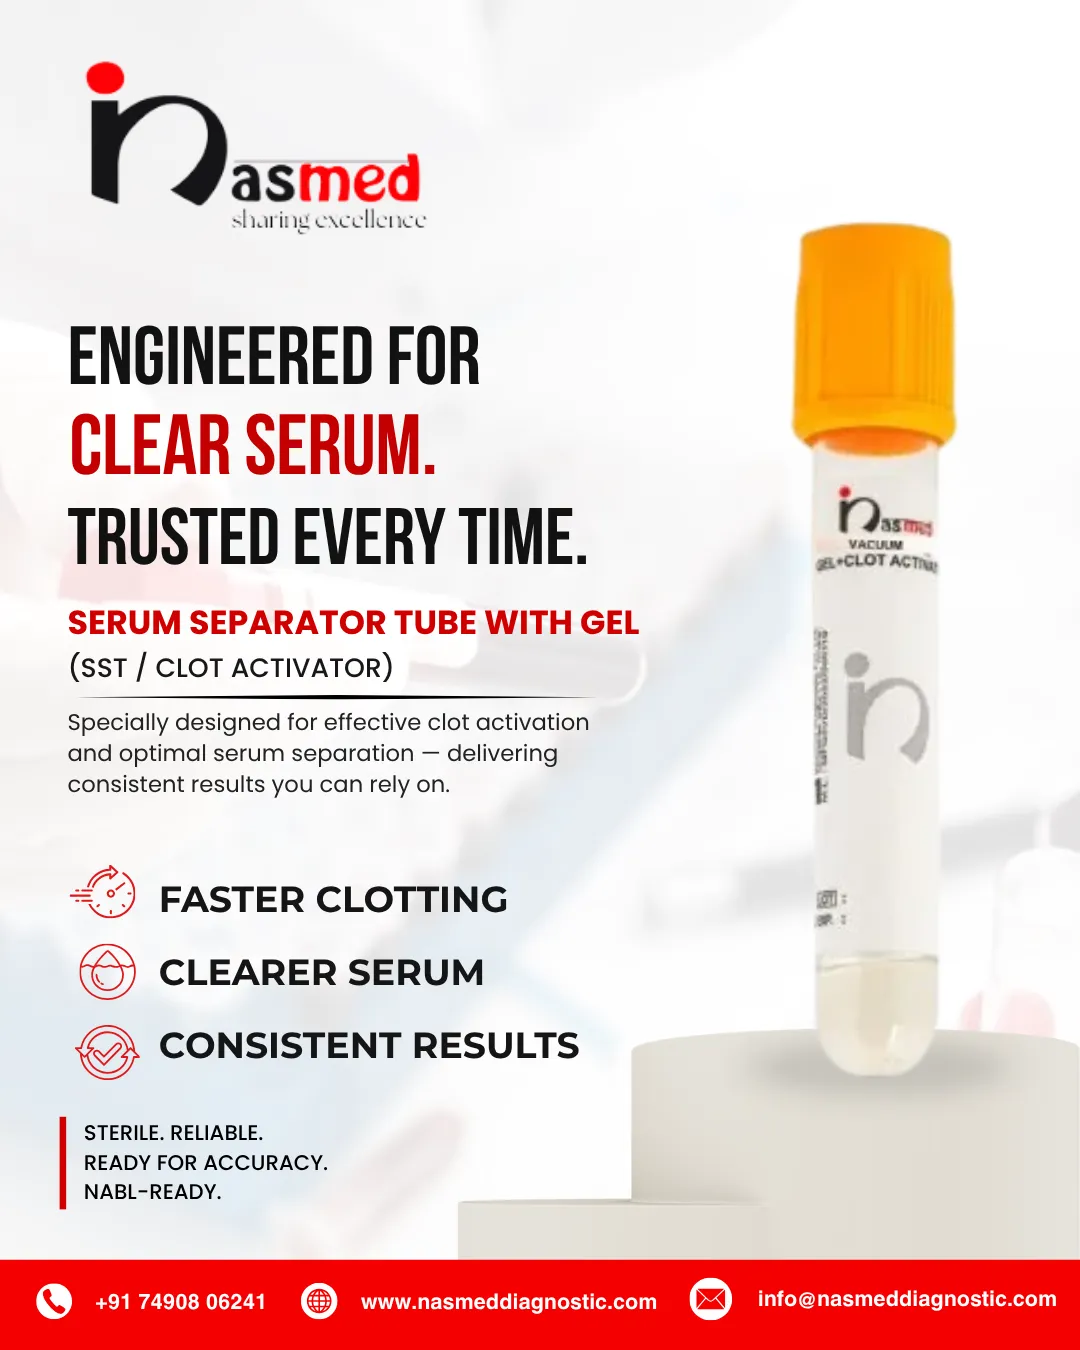
Serum-Separating Tube: Uses, Tests & Blood Collection Guide
A serum-separating tube is one of the most common blood collection tubes in any clinical laboratory. It holds a clot activator and a thin layer of gel, and together they help a lab turn a blood draw into clean, usable serum. If you work in a lab, a hospital, or phlebotomy, knowing how this tube behaves saves time and prevents rejected samples.
What Is a Serum-Separating Tube?
An SST is a sterile, vacuum-sealed blood collection tube designed to produce serum. Serum is the clear, straw-coloured liquid left after blood clots and the cells are removed. Most clinical chemistry tests run on it.
Inside the tube you will find two key components:
- A clot activator, usually micronised silica, which speeds up clotting.
- A polymer separator gel, which sits at the bottom and forms a barrier after centrifugation.
Other Names and Cap Colours
People also call it a serum separator tube, SST tube, gold-top tube, or tiger-top tube. Caps are typically gold or red-and-grey marbled. However, colour coding can vary slightly between manufacturers, so always check the label and the instructions for use.
Why It Matters Clinically
A doctor’s decision often rests on a single lab value. If cells stay in contact with serum, glucose drops and potassium rises, and the result misleads. The gel barrier separates serum from cells, so the sample stays closer to the patient’s true condition. For a wider look at tube families, see this overview of types of blood collection tubes.
How Does a Serum Separator Tube Work?
The process has three stages: clotting, spinning, and separating.
1. Clotting. Blood enters the tube and touches the clot activator. Clotting begins quickly. Labs usually allow around 30 to 60 minutes at room temperature, depending on the manufacturer’s instructions.
2. Centrifugation. The clotted tube goes into a centrifuge. A typical setting is 1,000 to 1,300 RCF for about 10 minutes, although you should always follow the tube’s insert.
3. Separation. During the spin, the gel becomes thinner under force. Its density sits between that of blood cells and serum, so it moves upward and settles between them. When the spin stops, it thickens again and holds its position.
The result is three clear layers:
| Layer (top to bottom) | What It Contains |
|---|---|
| Top | Clear serum, ready for analysis |
| Middle | Gel barrier |
| Bottom | Clot with blood cells |
What Is the Gel Inside an SST?
The separator gel is an inert, thixotropic polymer. “Thixotropic” simply means it flows when stirred or spun, and firms up when left still.
Why Gel Density Matters
Manufacturers formulate the gel to be heavier than serum but lighter than clotted cells. That precise balance lets it rise to the boundary between the two layers. If the density is off, the barrier forms poorly and serum can mix with cells again.
What the Gel Should Not Do
Good gel does not react with common analytes, and it does not release particles into serum. Still, some substances, such as certain therapeutic drugs, can partly absorb into the gel. That is why some tests need a plain tube instead. We cover this in more detail below.
Clot Activator Options
Most SSTs use silica particles. Some “rapid serum” variants use thrombin instead, which clots blood faster. This helps in urgent settings, or for patients on anticoagulant therapy.
Contact UsCommon Uses and Tests With an SST
Labs favour SSTs for routine chemistry because the serum is ready for automated analysers after one spin. Typical tests include:
| Test Category | Examples |
|---|---|
| Metabolic panels | Basic and comprehensive metabolic panel (BMP, CMP) |
| Lipid studies | Total cholesterol, HDL, LDL, triglycerides |
| Liver function | ALT, AST, ALP, bilirubin |
| Kidney function | Urea, creatinine |
| Hormones & markers | Thyroid profile, cardiac markers |
| Serology | Many immunology and infectious disease assays |
Tests That May Need a Different Tube
Some assays are sensitive to gel. Therapeutic drug monitoring, toxicology screens, and certain specialised hormone tests often call for a plain or non-gel tube. Your laboratory’s test directory always has the final word.
Choosing correctly matters because a wrong tube can force a redraw. This practical reference on which tube to use for which test helps match tests to tubes.
SST vs. Red Top Tube
Both tubes yield serum, but they get there differently. Here is a side-by-side view:
| Feature | SST (Gold / Tiger Top) | Red Top Tube |
|---|---|---|
| Separator gel | Yes, forms a barrier | No gel |
| Clot activator | Yes, usually silica | Varies; plain glass tubes have none, plastic ones often have it |
| Serum removal | Serum sits above gel and can be poured or pipetted with less risk of cell contact | Serum must be carefully transferred off the clot |
| Processing speed | Faster and more consistent | Slower, more manual handling |
| Serum volume | Slightly less, as gel occupies space | Slightly more |
| Analyte interference | Certain drugs and hormones may adsorb into gel | No gel interference |
| Best for | Routine chemistry and serology | Gel-sensitive tests and special assays |
How to Decide
Start with your test menu. If the assay needs a gel-free specimen, use a red top. If it is routine chemistry, an SST usually saves time and reduces handling errors. As a general rule, never swap one for the other without checking the test requirements first.
How to Use an SST for Blood Collection
Good technique protects the sample before it ever reaches the lab. The WHO guidelines on drawing blood describe safe phlebotomy principles, and these steps fit within them.
Step 1: Prepare. Verify patient identity, gather supplies, and select the right SST. Check the expiry date and confirm the tube is intact.
Step 2: Draw. Follow the proper order of draw for your protocol. Let the tube fill to its stated volume so the blood-to-activator ratio stays correct.
Step 3: Mix. Gently invert the tube about five to six times. Do not shake it, because vigorous mixing can cause haemolysis.
Step 4: Label. Label at the bedside, right after collection, with patient details, date, and time.
Step 5: Clot. Keep the tube upright at room temperature for the recommended clotting time. Skipping this step can leave fibrin strands in the serum.
Step 6: Centrifuge. Balance the tube opposite another of equal weight. Spin per the manufacturer’s settings.
Step 7: Inspect. Look for a firm gel layer with clear serum above it. Cloudy, red, or fibrin-streaked serum may need investigation.
Step 8: Aliquot or store. If needed, transfer serum into a labelled secondary tube without touching the gel. Then run, refrigerate, or freeze it as your test requires.
Common Mistakes to Avoid
- Spinning before the clot fully forms
- Underfilling the tube
- Re-centrifuging a tube after serum has been removed
- Storing an unspun tube for too long
Advantages, Limitations & Handling Tips
Advantages
- Faster processing, since separation happens inside the tube
- Cleaner serum with less manual transfer
- Lower risk of cell contamination
- Works smoothly with automated analysers
- Stable serum can sit on the gel for a period, depending on the analyte
Limitations
- Not ideal for gel-sensitive assays
- Slightly higher unit cost than plain tubes
- Depends on correct clot time and centrifuge settings
- Slightly lower serum yield
Handling Tips That Protect Results
Keep tubes upright, avoid extreme temperatures, and process within the timeframe your lab specifies. In hot climates, transport conditions matter just as much as tube quality. Some tests, such as glucose, use a different additive tube entirely. For example, sodium fluoride blood collection tubes exist for exactly that reason.
Choosing Reliable SSTs for Your Lab
Even perfect technique cannot rescue a poor-quality tube. Consistent gel, accurate vacuum, and clean manufacturing directly affect your results.
Nasmed Diagnostics Pvt. Ltd. is a CDSCO-certified manufacturer based in Nandoli, Gandhinagar, Gujarat. The company makes its blood collection tubes in an ISO 7 clean room facility (Class 10,000). Its range includes vacuum and non-vacuum tubes, micro/paediatric tubes, cell-free DNA tubes, gel lithium heparin tubes, and urine containers. The team, led by Directors Kush Patel and Suril Shah, works with hospitals, clinics, and labs across India.
Contact Nasmed Diagnostics
📞 +91 79908 01393 | WhatsApp: +91 74908 06241
✉️ info@nasmeddiagnostic.com
📍 Survey No 282 (Old Block No 213 Paiki), Nandoli, Gandhinagar, Gujarat 382115
Frequently Asked Questions
1. What is a serum-separating tube used for?
- It collects blood and yields clean serum for chemistry, hormone, and serology tests after clotting and centrifugation.
2. What colour is an SST cap?
- Usually gold or red-and-grey marbled (tiger top). Always confirm with the manufacturer’s label.
3. How long should blood clot in an SST?
- Typically 30 to 60 minutes at room temperature, but follow the instructions on your specific tube.
4. What is the gel in an SST made of?
- It is an inert, thixotropic polymer with a density between serum and blood cells.
5. Can I use an SST instead of a red top tube?
- Only if the test allows it. Gel can interfere with some assays, so check your lab’s requirements.
6. How many times should I invert an SST?
- Gently invert five to six times right after collection to mix the clot activator.
7. What speed and time should I use to centrifuge an SST?
- Commonly 1,000 to 1,300 RCF for about 10 minutes. Always follow the tube insert.
8. Which tests should avoid SST tubes?
- Some drug level, toxicology, and specialised hormone tests may need gel-free tubes.